Store bought bouquets sure are sweet, but nothing beats a homemade floral arrangement. Whether it serves as a congratulatory gift, housewarming wishes, or simply staged as a home accent to freshen up your space, there is something so personal and heartfelt about a handmade bouquet of fresh florals.
Today we will be doing just that; sharing with you our tried and true methods we’ve gathered over the years to inspire you to create a beautiful bouquet – The Garden Studio Design way.
Now let’s get creative!
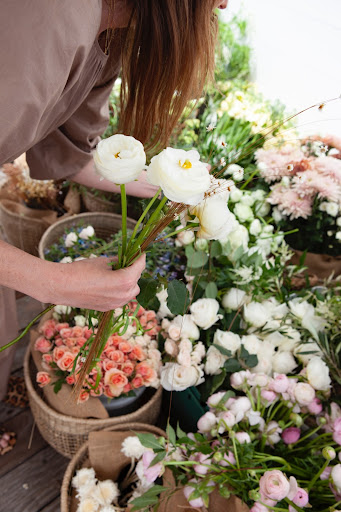
While the dream is to have the space (and time) to grow a luscious floral garden, we believe that the magic of creating a beautiful bouquet from home picked stems can be replicated no matter where you source your ingredients. Before we begin, we thought we’d share with you our favorite floral sources:
- ($$$) Your Local Florist- often the freshest and most unique picks can be found here! Some florists even offer you to build your bouquet right then and there with loose stems on display.
- ($$) Your Local Farmer’s Market – We love finding fun seasonal choices that you wouldn’t otherwise find at your local grocery stores here.
- ($) Trader Joes + Whole foods- a quick and easy option if you aren’t picky on variety!
Let’s break down each step of building an arrangement like a pro, shall we?
STEP 1: Source Your Vessels
The type of Vessel you use will depend on the proposed placement of your arrangement. For arrangements that are to be used as a table centerpiece, we recommend you opt for a lower vessel (keeping arrangements low will encourage conversation across the table).
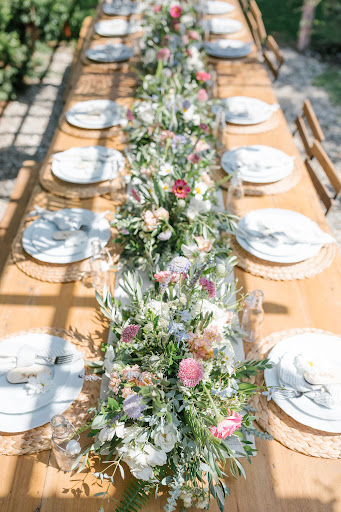
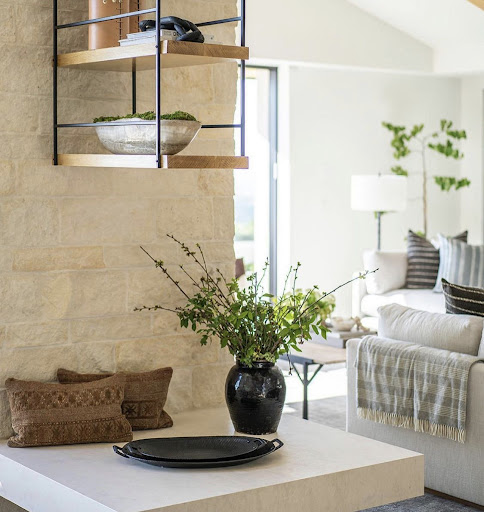
For arrangements that are to be staged as a home décor accent (i.e. entryway console, bedside table, etc.), we like to opt for a taller vessel like THIS.
STEP 2: Prep Prep Prep
You will need the following tools:
- Oasis – these floral foam blocks are the secret ingredient when it comes to keeping your florals secured and looking fresh. Cut it down to your vessel size and soak in water prior to beginning arranging.
- If you plan on arranging your florals in a glass vase, we recommend using Clear floral tape and arranging in a criss cross pattern at the mouth of the vessel to keep stems in place!
- Clean cutting shears – THESE are our favorites.
- Moss – we will use this at the very end to cover up the Oasis and fill in any other gaps at the base
It is SO important to give all your blooms a fresh cut before trimming! Always trim your stems at a 45 degree angle before arranging using clean & sharp gardening shears. This increases the stems surface area and allows them to drink water more easily. Also, don’t forget to trim any extra leaves that may fall in or below your water source, as this invites mold and bacteria.
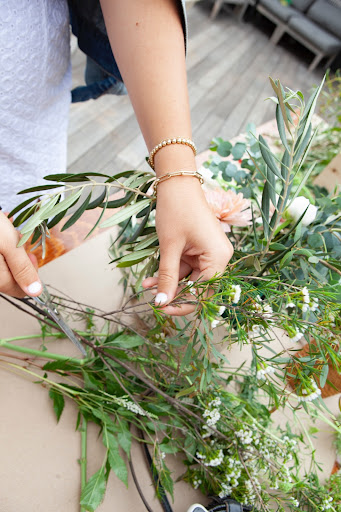
Now that we are all prepped and primed, we can begin the fun stuff!
A floral arrangement should be comprised of four different elements:
- Your greens,
- “Stars of the Show”,
- fillers, and
- accents.
PRO TIP: We like to build our arrangements using an ‘offset triangle’ method. This is a loose style arrangement that doesn’t rely on perfect symmetry and is more forgiving, therefore it’s more fun for beginners.
STEP 3: Add Your Greens
We like to think of these as the “bones” of an arrangement. They usually consist of elements that have a more structured/strong stem, and are useful players when giving your bouquet it’s beautiful silhouette. It’s no wonder we like to begin building our arrangements beginning with this element first!
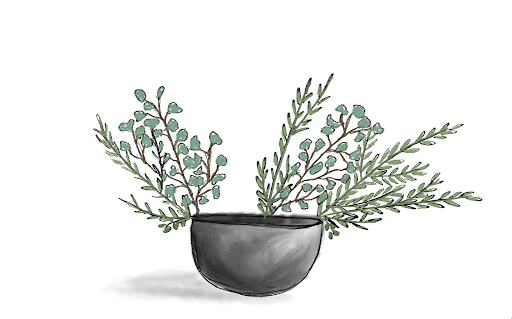
A few of our Go Tos:
- Olive Branches
- Gunni Eucalyptus
- Isreali Ruscus
STEP 4: Add Your “Stars of the Show”
Your “stars of the show” are exactly as they are described… your bold, daring, and sometimes spunky main characters that set the stage for your accompanying actors. We like to add our “stars of the show” as the next step as it helps determine the overall “theme” of the arrangement moving forward!
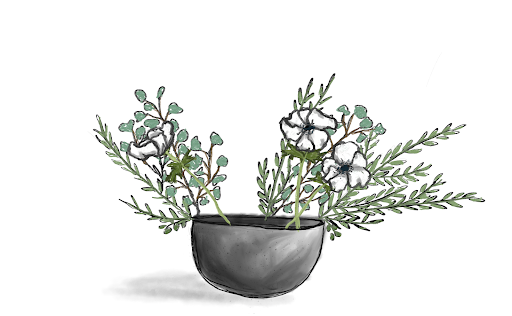
Our favorite picks:
- Anemones
- Ranunculus
- Dahlias
- Peonies
PRO TIP: Choose one to three stems per each arrangement- bold elements like these are often more pleasing to the eye in odd numbers!
Step 5: Add Your Fillers
Imagine these guys as your supporting characters. These are the stems that compliment your “stars of the show” by adding fun texture or a contrasting color to make sure your stars really POP!
And remember… No amount of filler is too much! Stiff symmetrical bouquets are so last year… add more filler if you really want that “wild and organic “look.
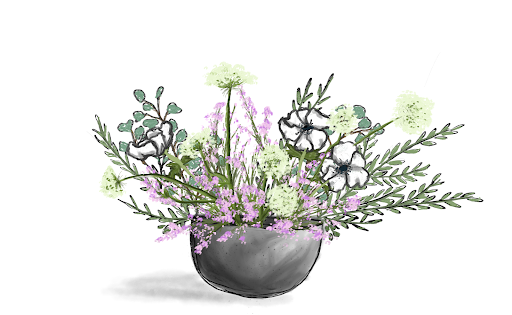
Our favorites:
- Wax Flower
- Queen Anne’s Lace
Step 6: Add Your Accents and Moss
Last but certainly not least… These guys are essential to filling in those pesky gaps and adding an unexpected surprise with dried elements! Look for stems that have a fun + quirky element to them if you want a more “wild” look, like berries or fuzzy leafs.
Moss at the base of your arrangement helps conceal your oasis and gives your vessel a more whimsical and natural look. You can also use broken off clumps of moss to hide the oasis or empty corners in your vessel too!
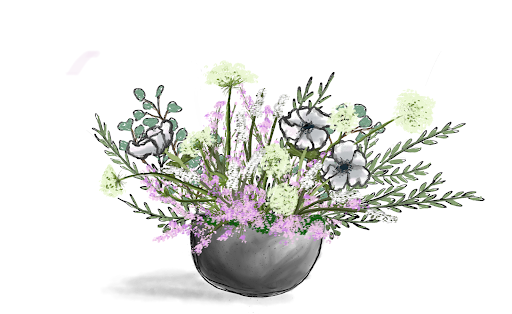
Our favorite accent florals:
- Dried florals
- Spirea
- Astilbe
- Veronica
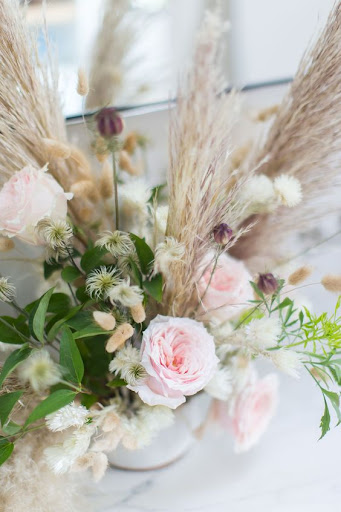
We hope this comprehensive guide inspires you to embrace your inner child and get creative. Remember, don’t take yourself too seriously and don’t be afraid to think outside the box when it comes to building the floral arrangement of your dreams. We believe that the prettiest floral bouquets are made when you are having fun!
Take your floral arranging to the next level – Visit our Amazon Store Front to find some more of our go-to floral supplies, gardening must-haves, and favorite home decor staples!